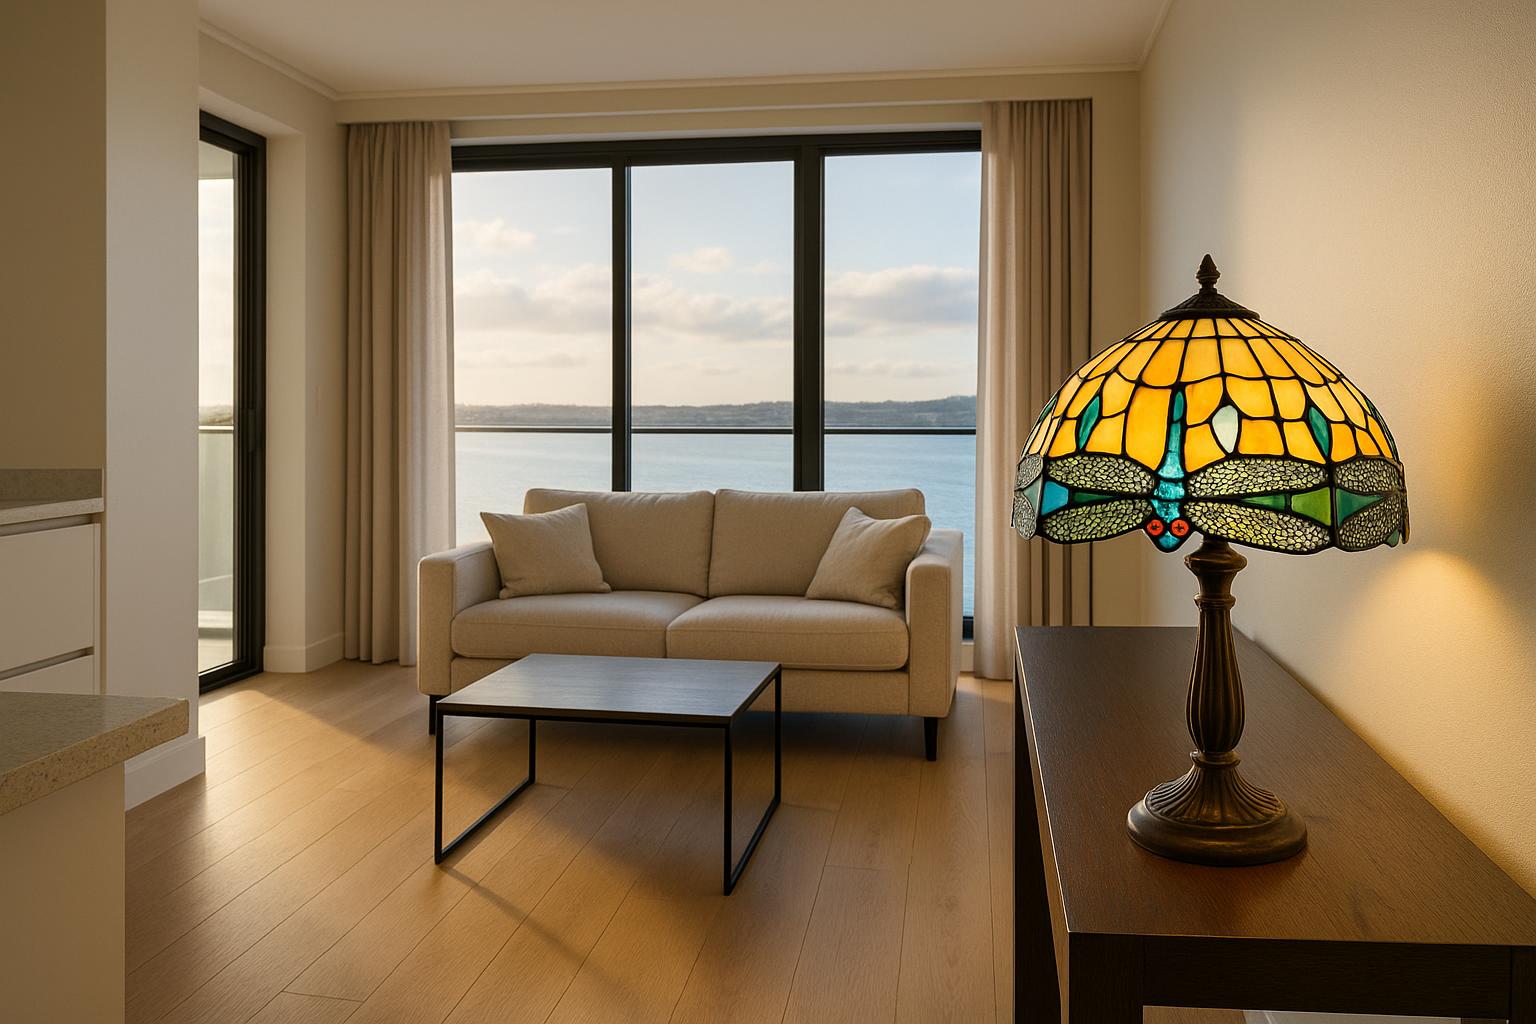
A practical guide to placing dragonfly stained-glass lamps in bright coastal interiors, with specific advice on...
- There are no more items in your cart
- Shipping Free
- Total NZ$0.00
The Ceiling-First Test for Choosing a Tiffany-Style Flush Mount
When comparing the best tiffany flush mount lights for a New Zealand home, begin with the space the fitting will occupy rather than the stained-glass pattern. A shade may look appealing in a product photograph yet feel too broad in a narrow hallway, too shallow beneath a high villa ceiling or too dark in a room that depends on one central light.
A ceiling-first test reduces that uncertainty. It considers the fitting’s complete projection, its diameter, the route beneath it and the way it will be seen from adjoining rooms. Once those limits are clear, colour and pattern become easier to judge.
Map the clearance zone
Stand beneath the existing ceiling point and note what happens around it. Is it above an open walking route, the lower end of a bed, a coffee table or a dining table? Check nearby wardrobe doors, tall cupboards and the line of approach from the entrance. A fitting over furniture does not have the same clearance demands as one in the middle of a hallway or landing.

Measure the finished ceiling height at the actual mounting point. This matters in older houses where ceilings may not be perfectly level, as well as in renovations with bulkheads or changes in ceiling height. On a sloping or vaulted ceiling, confirm that the chosen mounting system is intended for that situation. A decorative ceiling light should not be assumed to suit every ceiling form.
If the current fitting feels comfortable, record the distance from the ceiling to its lowest point before it is removed. That measurement gives you a useful reference grounded in the room itself, rather than a general rule that may not suit the household or location.
Check the complete fitting profile
Product dimensions should describe more than the shade. The relevant measurement is the total distance from the ceiling surface to the lowest part of the assembled fitting. A frame, central finial or decorative lower detail can extend beyond the glass and change the practical clearance.
To test a proposed projection, measure down from the ceiling and mark the lowest point temporarily on a wall or length of removable tape. View it from the doorway and walk beneath the ceiling point where safe to do so. This simple check is particularly useful in darker internal hallways, compact apartments and rooms where the fitting is close to a wardrobe or circulation route.
Distinguish flush from semi-flush fittings
A flush mount sits directly against, or very close to, the ceiling. A semi-flush fitting uses a short support that leaves a visible gap between the ceiling and the shade. Retail descriptions are not always applied consistently, so rely on the listed projection and photographs as well as the product name.
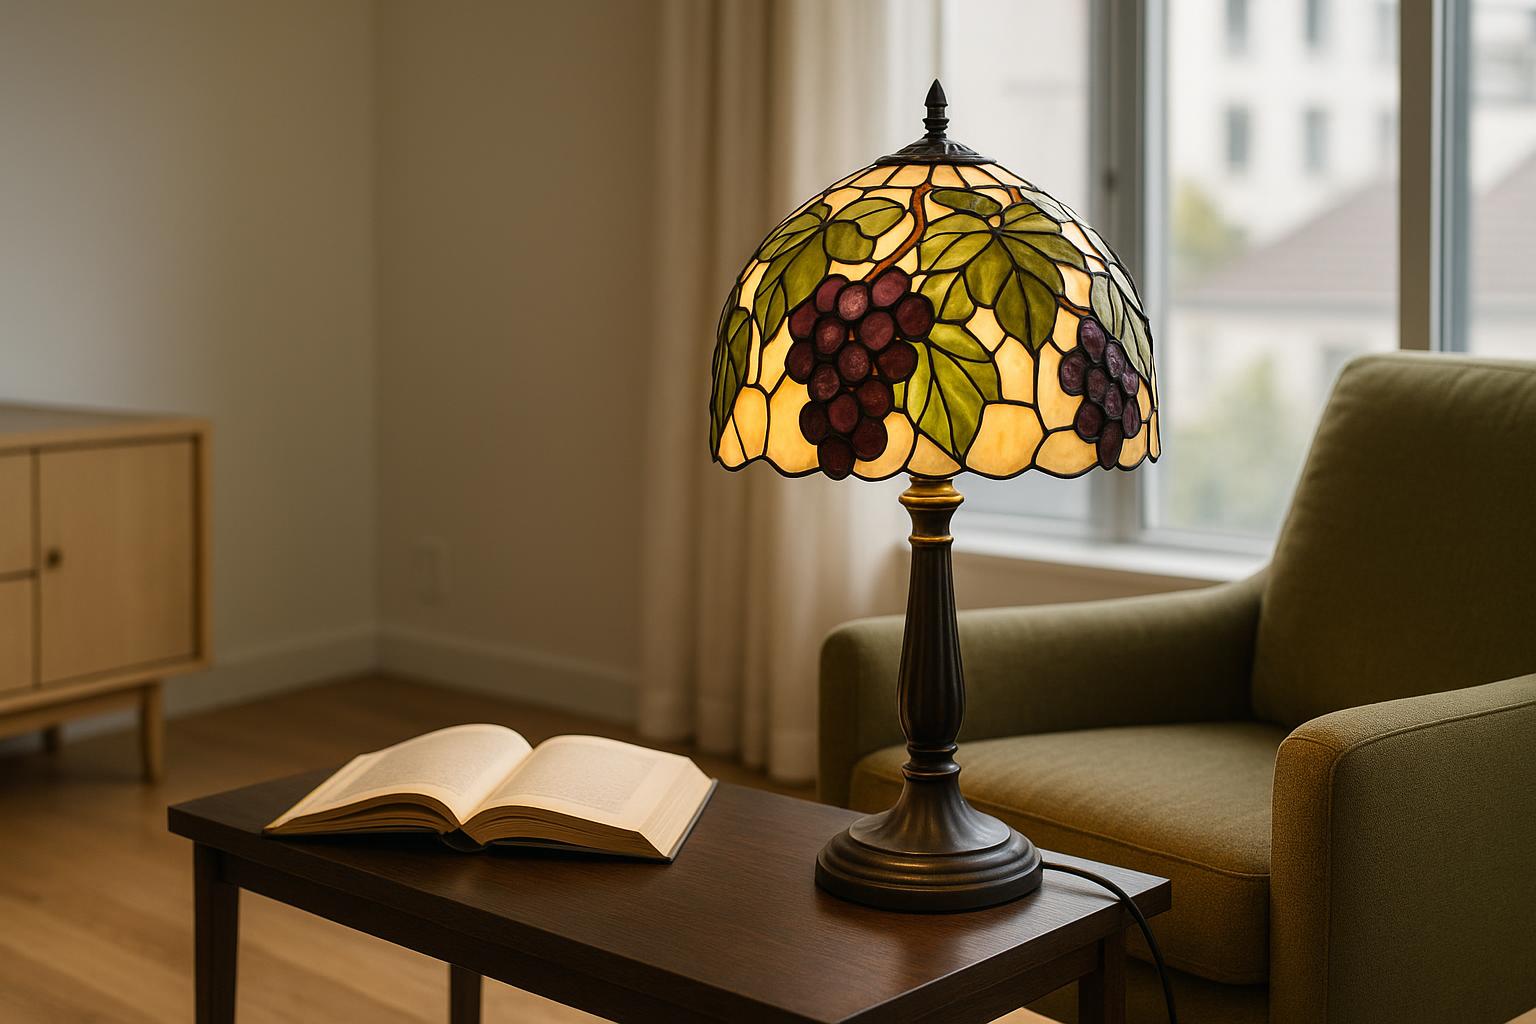
To complement this topic, you can also read A Room-by-Room Guide to Placing Grape Tiffany-Style Lamps.
low-profile ceiling lights are usually the more practical option where headroom is limited. Semi-flush lighting introduces a little more depth, allowing the shade and supporting metalwork to form a stronger silhouette. That extra depth can be useful in a lounge or bedroom with a generous ceiling, where an extremely shallow fitting might appear visually disconnected from the rest of the room.
Neither type is inherently better. The choice depends on clearance, room volume and the direction from which the fitting is most often seen.
Test the diameter from important sightlines
Projection controls headroom; diameter controls visual scale. A wide, shallow dome may suit a square entrance but dominate a slim corridor. A small shade can preserve space in a compact bedroom yet look incidental in an open-plan lounge.
Confirm the stated diameter rather than estimating it from a photograph. Reproduce that width with a paper circle or mark the outline using removable low-tack tape. Keep any mock-up light and secure, and do not attach material to electrical components. Step back to the doorway, the main seating position and any adjoining room from which the ceiling light will be visible.
In open-plan living, include other fittings in the assessment. A stained-glass flush mount in the lounge should have a clear relationship with a pendant light above the kitchen island without competing for attention. Leaving visible plain ceiling around each fitting usually gives both designs more room to read.
Account for ceiling height and character
Standard or lower ceilings generally favour compact ceiling fixtures with controlled projection. High ceilings in villas and heritage homes can accept more depth, although a flush or semi-flush fitting may still be preferable to a pendant where the room has a busy circulation route.

Ceiling detail also affects the result. A broad shade can crowd a ceiling rose, beam or decorative plaster border even when its projection is suitable. Measure the clear mounting area and check how the canopy will relate to existing details. In a simple Christchurch new build, a richer stained-glass pattern may provide a useful focal point; beneath an ornate ceiling, a quieter geometric design may be more settled.
View stained glass in daylight and after dark
Tiffany-style glass does not hold one fixed appearance throughout the day. Strong summer daylight can make cream, pale amber and green sections appear crisp, while electric light often makes the same colours warmer and more saturated. Deep red, blue and purple glass may feel visually heavier after dark, particularly when the ceiling fitting supplies most of the room’s ambient light.
Consider the room’s orientation, glazing and wall colour. Extensive glazing can wash out delicate shades during the brightest part of the day, while a darker internal hallway may reveal their warmth even before evening. Off-white walls tend to reflect coloured light gently; grey or strongly coloured walls can reduce contrast or alter the perceived balance of the glass.
Product images are a guide rather than a colour standard. Screen settings, photography and surrounding décor all influence what you see. Read the description closely and aim for a compatible colour family instead of trying to match a paint chip or cushion exactly.
Adjust the choice for each room
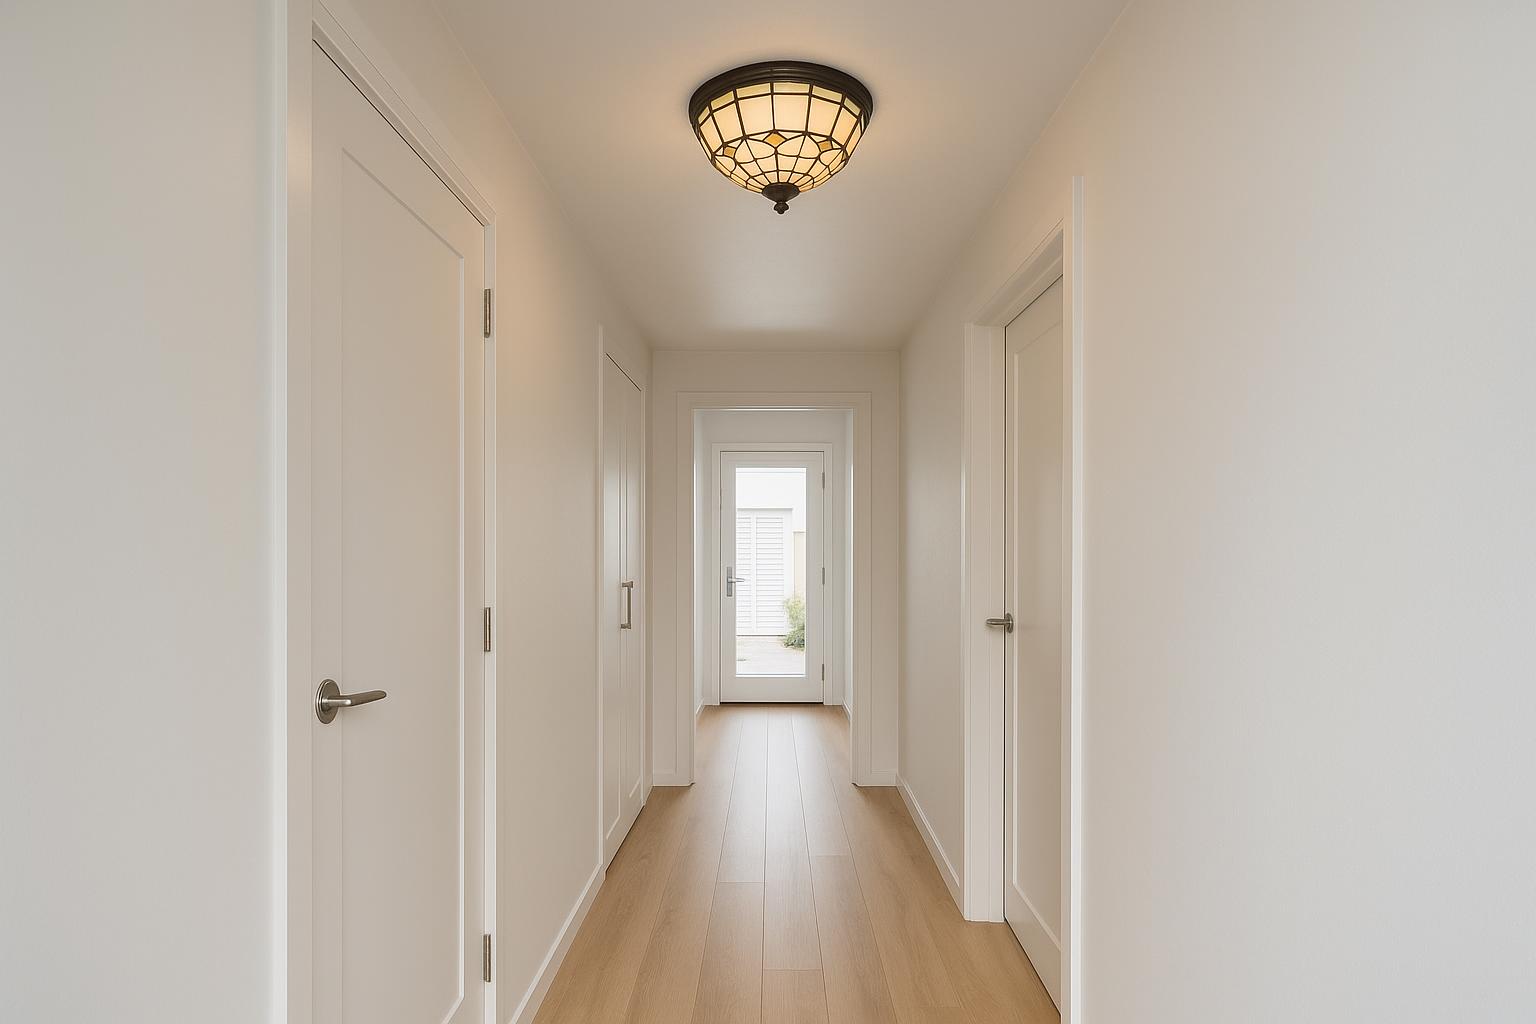
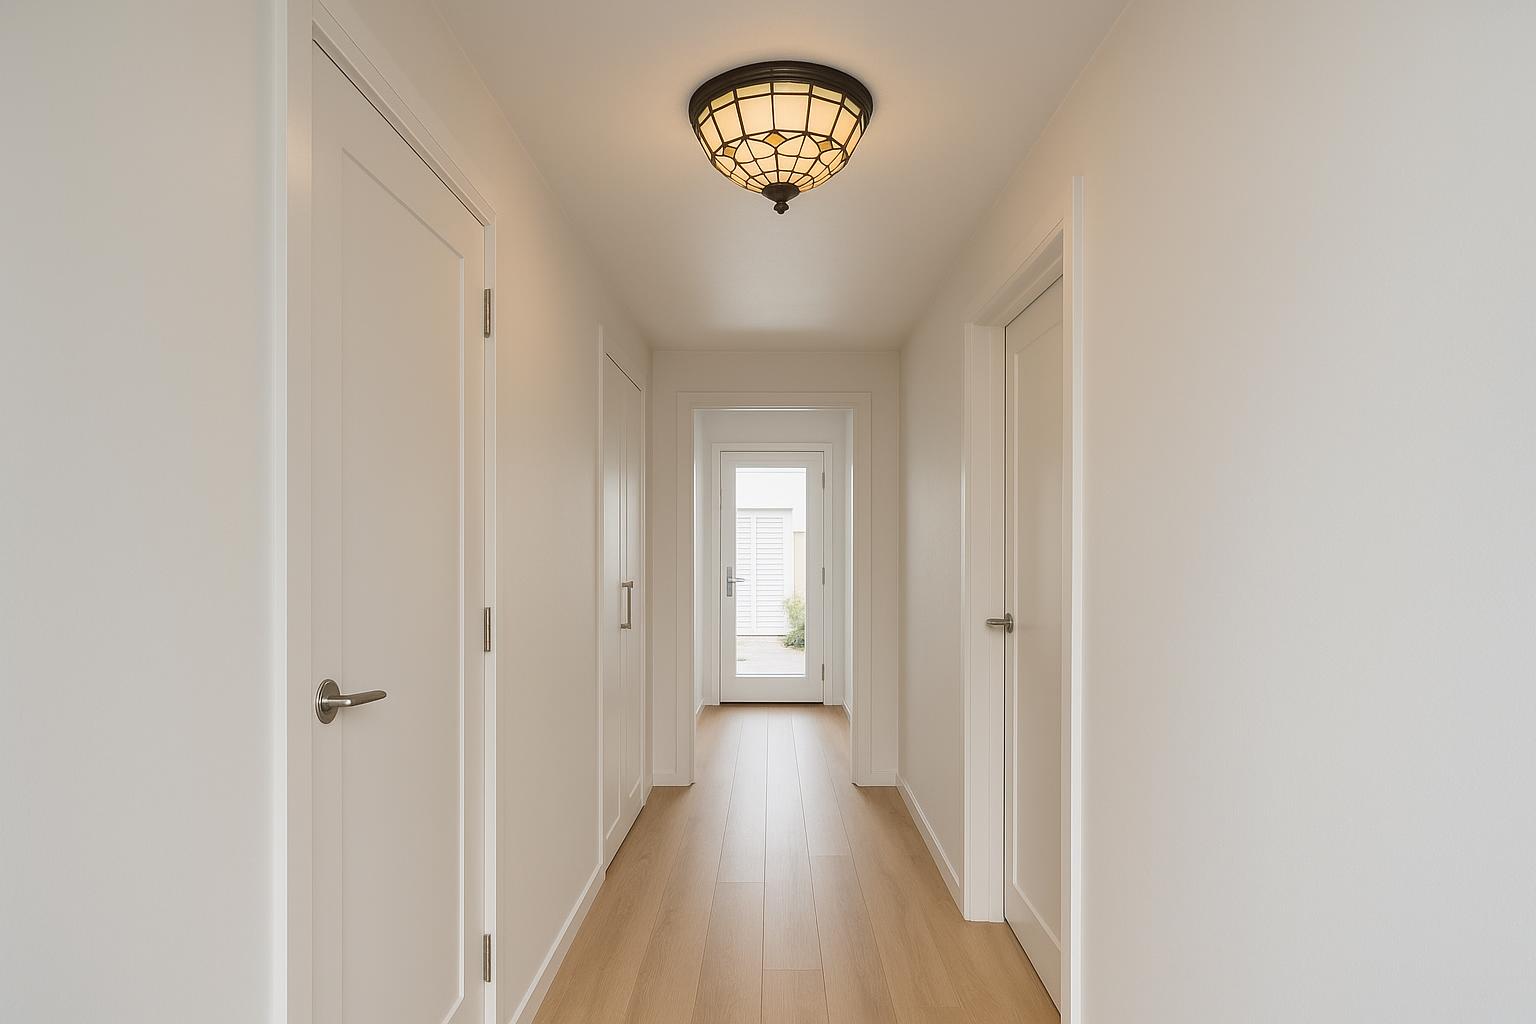
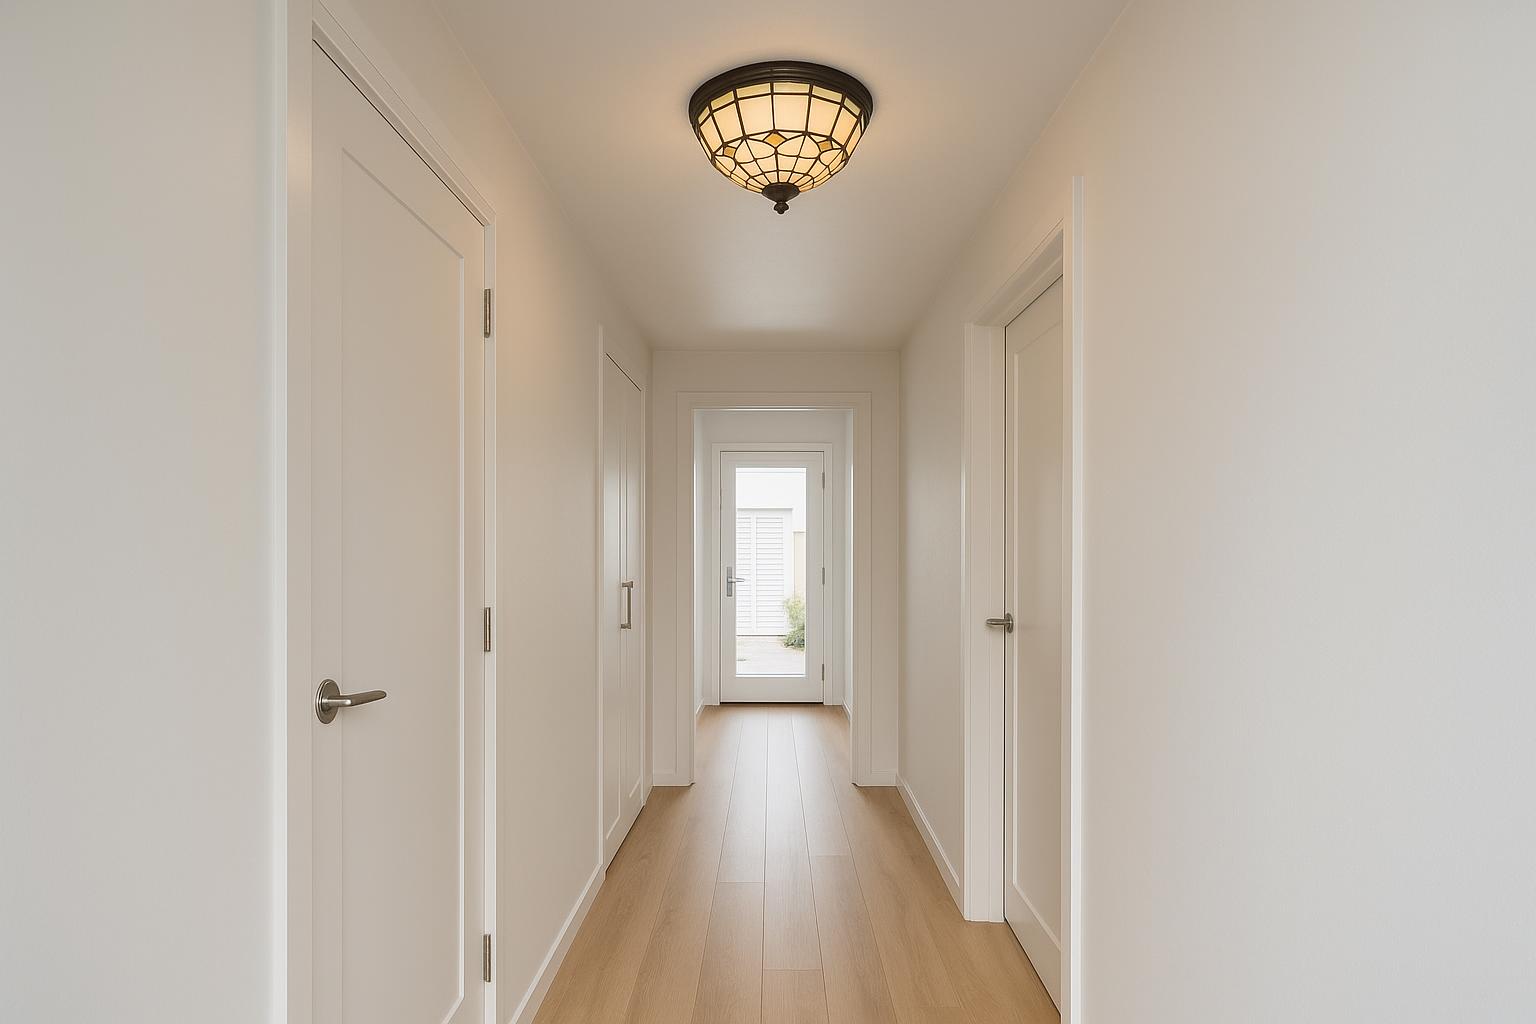
- Hallway or entrance: give priority to shallow projection, clear passage beneath the fitting and enough plain ceiling around the shade. Restrained geometric glass can add interest without making a narrow route feel crowded.
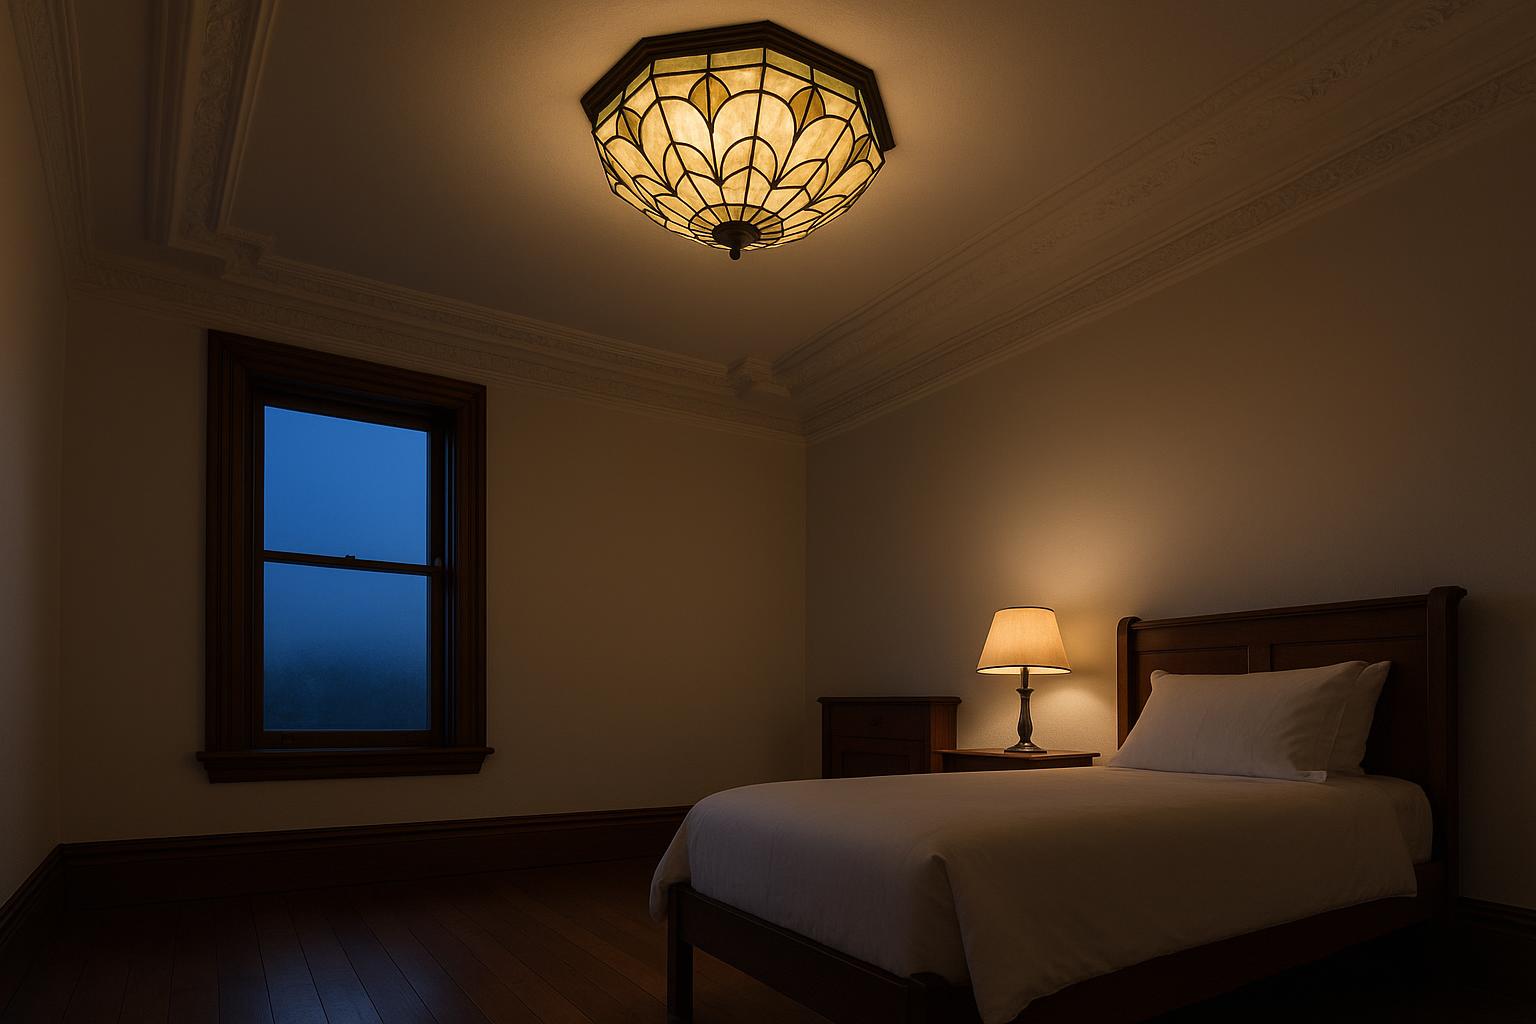
- Bedroom: check the fitting’s position relative to the bed, wardrobes and open floor. Cream, amber and soft green often create a quieter effect than dense jewel colours, but the room’s other lighting remains important.
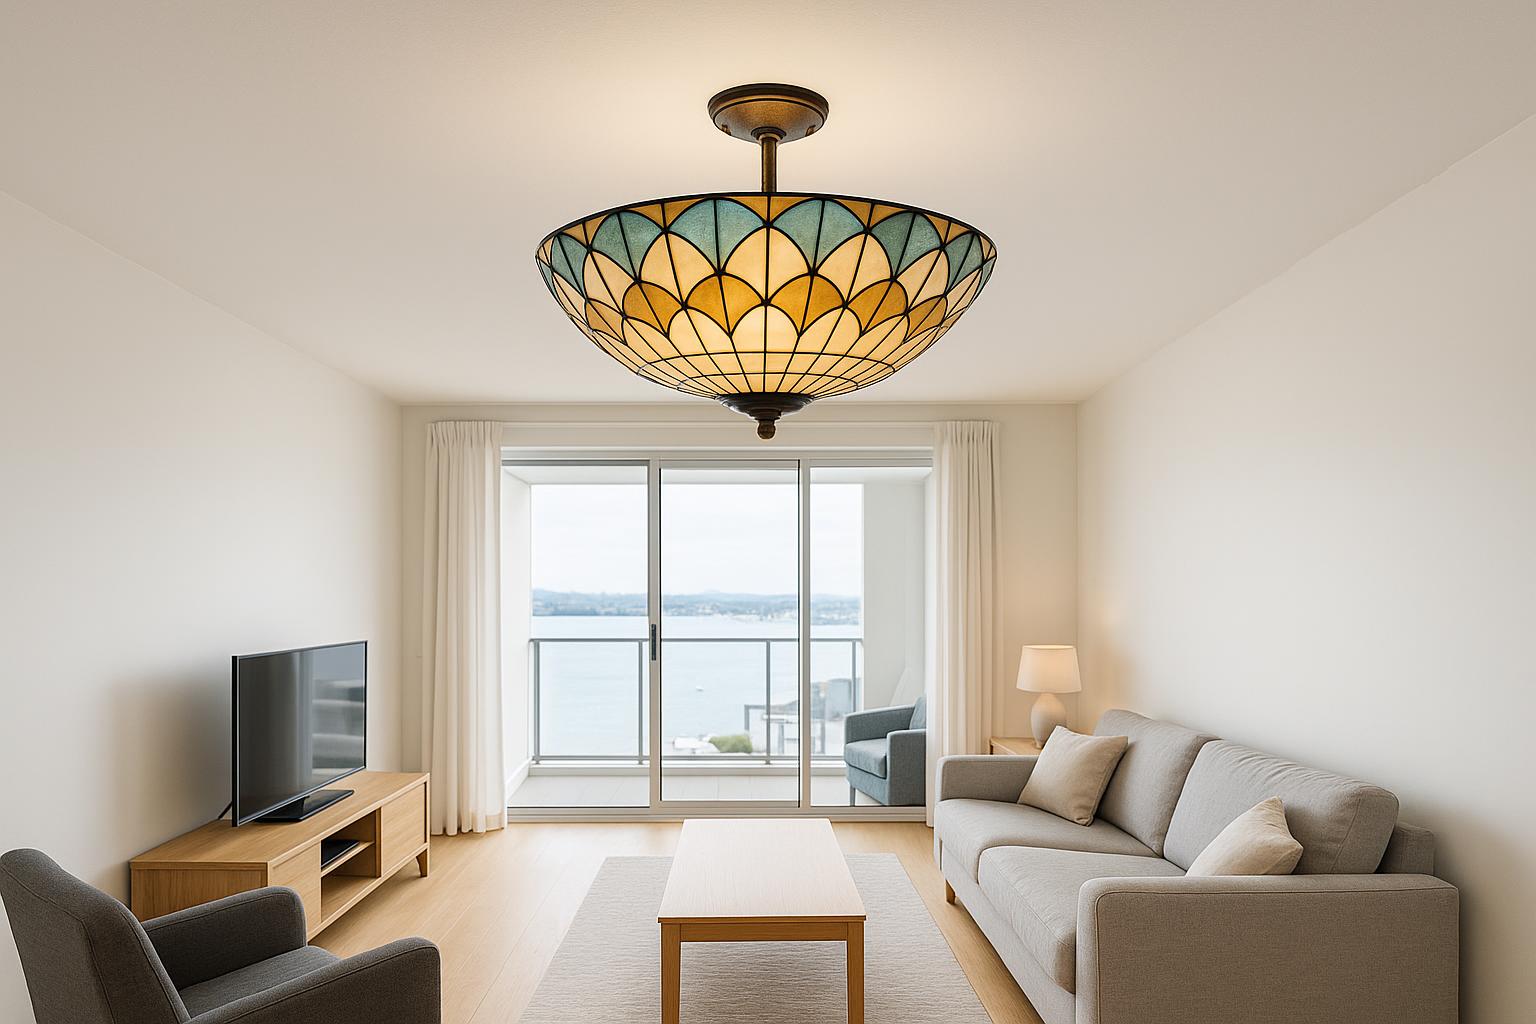
- Apartment lounge: choose a diameter that is visible from the seating area while keeping the profile controlled. Consider the complete open-plan view rather than treating the lounge ceiling in isolation.
- Landing or stairwell: inspect the fitting from above and below where applicable. Its underside, frame and lower detail may be more prominent here than in a room viewed from one level.
- Home office: use the stained-glass fitting for ambient light and provide a separate desk lamp for reading, paperwork and other concentrated tasks.
Plan layered light and confirm the specifications
Coloured glass filters light, which is part of its appeal. It also means a decorative Tiffany-style ceiling light should not be expected to behave like an exposed utility fitting. Pale panels generally allow a more open effect, while dense patterns and darker colours tend to produce a more atmospheric result.
Plan the room in layers. Let the ceiling fitting provide ambient light, then add bedside lamps, a floor lamp or task lighting where close work takes place. Before ordering, check the product information for bulb quantity, bulb base, permitted dimensions, maximum ratings and any stated dimming limitations. Do not infer these details from the fixture’s appearance.
Fixed wiring should be handled by a registered New Zealand electrician who holds a current practising licence. The electrician can assess the existing ceiling point, mounting conditions and suitability of the proposed location, then install the fitting according to its supplied instructions.
Make a measured shortlist
Reduce the options in a practical order: total projection first, diameter second, light output and glass density third, then pattern and metal finish. Revisit the room in daylight and at night before making the final comparison. This is especially worthwhile in southern homes and internal spaces that receive limited winter light.

Once the physical limits are recorded, compare the Tiffany flush mount collection by profile, scale and glass character. Choose the fitting that clears the room comfortably and supports its lighting plan; let the favourite motif decide between the options that genuinely fit.